_
featured post
PRESS
January 27, 2026
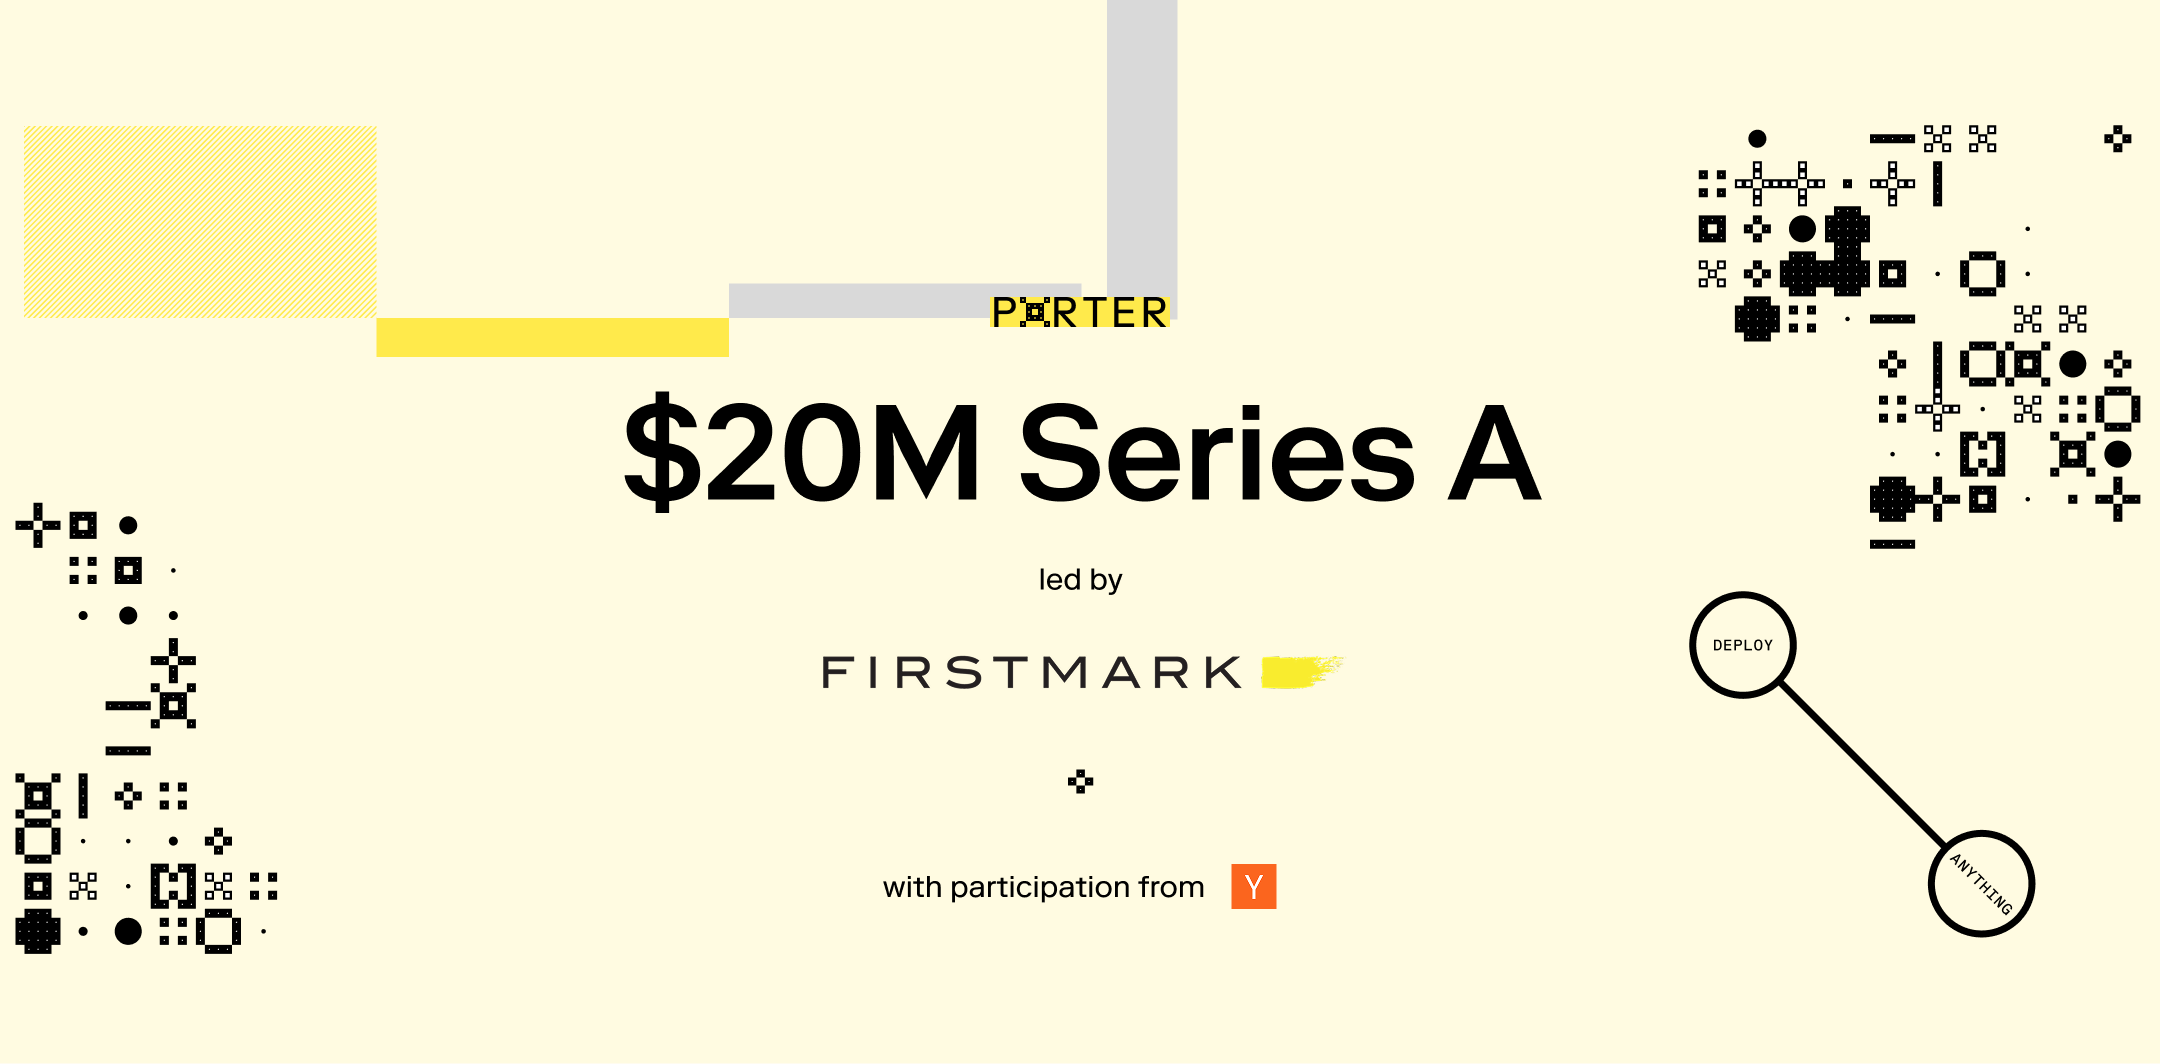
Effortless App Infrastructure in Any Cloud: Our $20M Series A

Justin Rhee
1 min read


.png)


Subscribe to our newsletter
Thank you. Your submission has been received.
Oops! Something went wrong while submitting the form.
